cosmetics

About Face


As you know, I am gearing up for the Listen To Your Mother Austin performance.  We have two shows on Saturday, April 25, at 3pm and 7pm, and one of those will be video’d for distribution on the LTYM YouTube channel.  If you’ve read more than three posts here, you know that I am more than superficially concerned with my appearance, so in preparing for the show, I decided I needed to brush up my contouring skills.

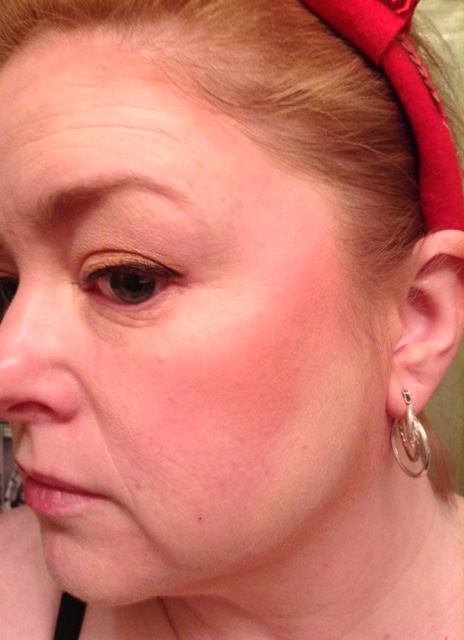
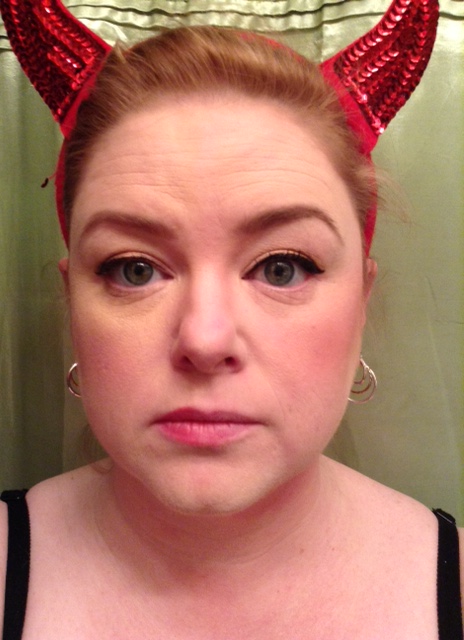
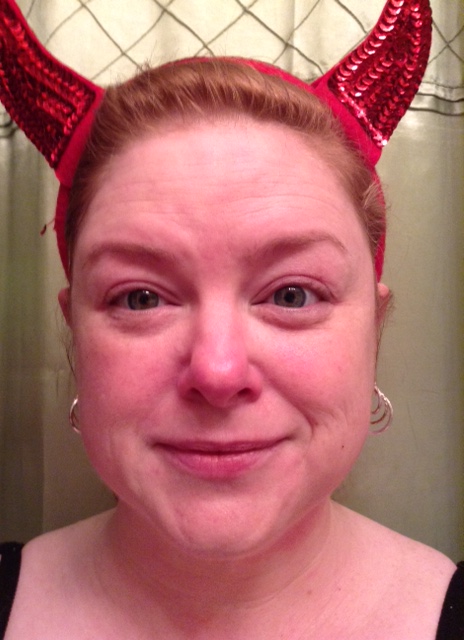
See, I have a very soft jawline.  This means that from certain angles (like the one I’ll be filmed from for the LYTM show) my chin disappears entirely, melting into my neck, so that I look like a sock puppet with nice eyes.  I could show you my passport photo as proof, but I won’t.

I know how to contour, but have had limited success in doing it on my own head.  I’ve managed to add just enough shadows to make myself look like a sock puppet with nice eyes, and a brown U shape where a jawline should be.  I do not want that for the LYTM show.

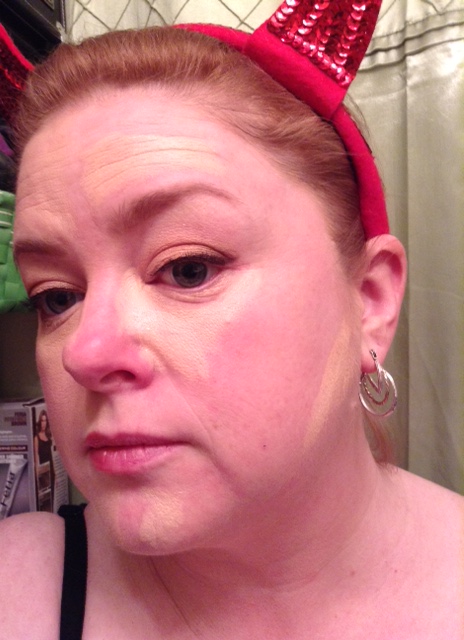
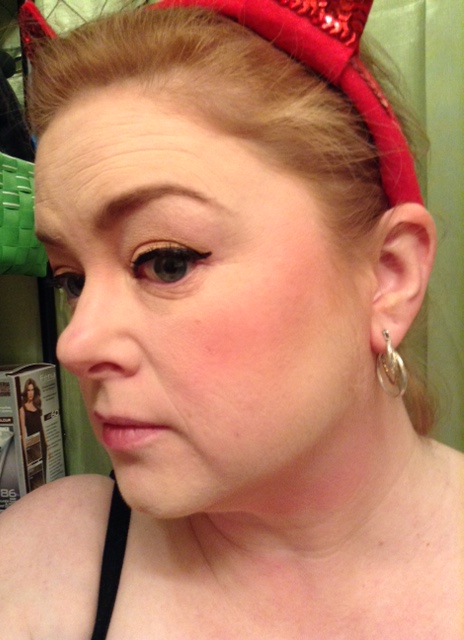
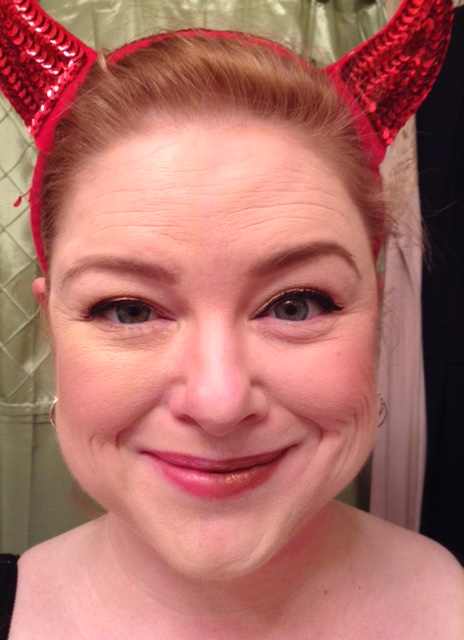
I booked myself into BLUSHINGTON for a Camera Ready, Lucky Stars look.  My makeup artist, Desiree, listened, looked, and got to work.  Normally, the first time I see a makeup artist, I walk out looking like I’ve been playing in my mother’s kit.  I was really pleased at what Desiree did for me, and was very happy that she took the time to walk me through not just the How-To of applying contour, but the Why-This.

I walked into Blushington looking like this.  And I took this photo (with flash) from an unflattering angle.  The flash gave me a chin.  Yay for chins!
I walked into Blushington looking like this. And I took this photo (with flash) from an unflattering angle. The flash gave me a chin. Yay for chins!
I walked out looking like this.  Same camera angle with flash, and I did my best to make the same facial expression.  Amazing what a little paint can do for a girl!
I walked out looking like this. Same camera angle with flash, and I did my best to make the same facial expression. Amazing what a little paint can do for a girl!

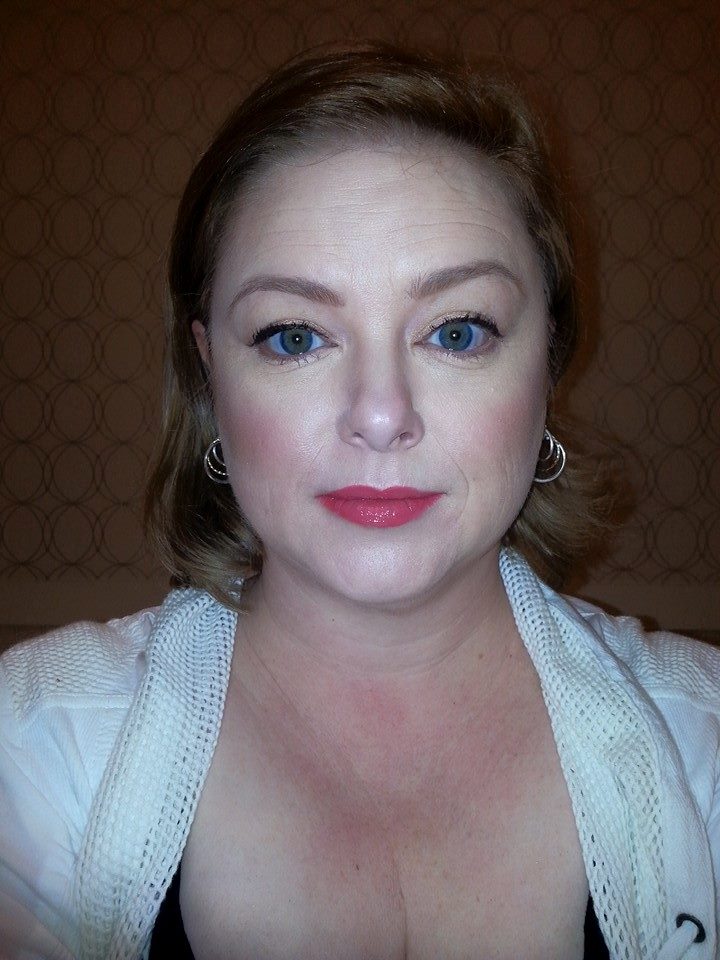
Here’s what I liked about the look:

  1. I had cheekbones!
  2. I had a jaw!
  3. My nose no longer looked like a little blob of silly putty
  4. Eyebrows!
  5. And the contouring took five pounds off my face

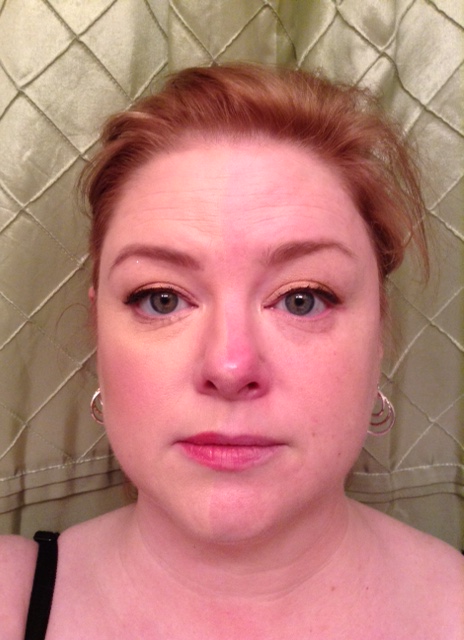
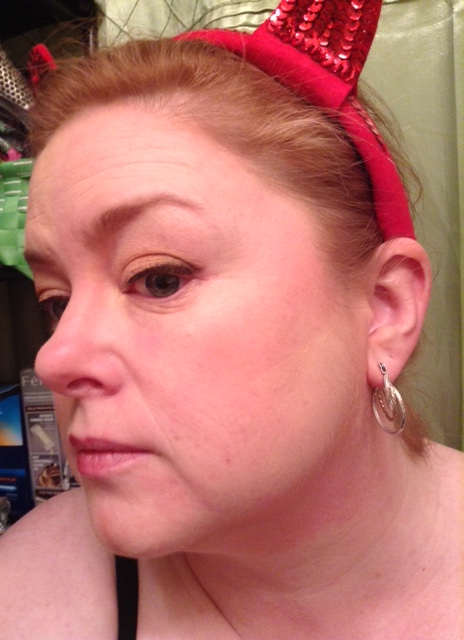
Here’s what I didn’t like:

  1. The product really didn’t work with my skin type, which is nothing to do with the makeup artist
  2. I felt like the look aged me 10 years
  3. I felt like the eyeline was too thin
  4. I like to line my lips before wearing a really bright lipstick, so I can even them out.  My face isn’t symmetrical enough to carry off that much color without building out my lip first.

The big challenge was to get home and see if I could recreate the work Desiree had done.  I loved her, by the way.  She was very knowledgeable about product, trends, and makeup artists.  She was as familiar with the looks in Kevin Aucoin’s books as I am, and that doesn’t happen every day.  We spoke the same look-language, and that made me trust her more.

This is what the makeup looked like in the lighting of my bathroom.
This is the profile of the Blushington contouring.
I washed off the left side of my face, except for the eye makeup because it is so similar to what I normally do.  I did take off the eye makeup that was on my lower lid.  The left side of my face is the more difficult side for me to do.
I washed off the left side of my face, except for the eye makeup because it is so similar to what I normally do. I did take off the eye makeup that was on my lower lid. The left side of my face is the more difficult side for me to do.
I used a highlighter pencil from my last Ipsy glam bag to draw in my highlights.  A funky, half Texas shape under my eye, a skinny triangle just above my jaw, and a blob shape above my eyebrow.  You want to put the light color in places you'd like to stand out, and I was trying to make my super-round, biscuit face into a shapely oval.
I used a highlighter pencil from my last Ipsy glam bag to draw in my highlights. A funky, half Texas shape under my eye, a skinny triangle just above my jaw, and a blob shape above my eyebrow. You want to put the light color in places you’d like to stand out, and I was trying to make my super-round, biscuit face into a shapely oval.
Then, I used my Rockateur bronzer from Benefit to make contour.  This is absolutely the wrong color for this work, but it's all I had.  I'll be picking up some ELF colors soon.  The contour went really close to my hairline to oval out the round, and in a Nike swoosh right on the bone of my cheekbone, and in another swooshy shape under my jawline, starting BEHIND MY EAR.  That's critical.  It makes the shadowing look more natural.   When I blended (and you have to blend like a fiend) I blended into my ear and all the way down my neck-also critical if you want to avoid looking like your head is pasted on.
Then, I used my Rockateur bronzer from Benefit to make contour. This is absolutely the wrong color for this work, but it’s all I had. I’ll be picking up some ELF colors soon. The contour went really close to my hairline to oval out the round, and in a Nike swoosh right on the bone of my cheekbone, and in another swooshy shape under my jawline, starting BEHIND MY EAR. That’s critical. It makes the shadowing look more natural. When I blended (and you have to blend like a fiend) I blended into my ear and all the way down my neck-also critical if you want to avoid looking like your head is pasted on.
I used a tiny brush to make a line down the side of my nose, to make ti look skinnier and less like a blob.  Then I blended like crazy.
I used a tiny brush to make a line down the side of my nose, to make ti look skinnier and less like a blob. Then I blended like crazy.
So here's my face with the highlights and low lights blended, before foundation.
So here’s my face with the highlights and low lights blended, before foundation.
And here's the profile blended before foundation.  I blended out the shadows a little too well, and had to go back and add more.
And here’s the profile blended before foundation. I blended out the shadows a little too well, and had to go back and add more.
I used a damp blending sponge to pat on my MAC Studio Fix foundation, then thickened up my eyeliner with a Lancome artliner, and drew my eyebrow back in with my favorite Too Faced Brownie eyeliner pencil in the color Blondie.
Profile of the look blended with foundation.
I put on my MAC blush, drew in my lipline with NYX lipliner, and put on some gloss by Moxie.
From the side with blush.
And from the front again, smiling.

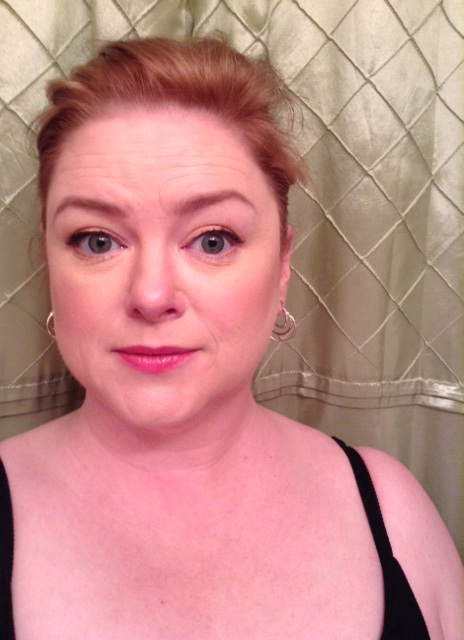
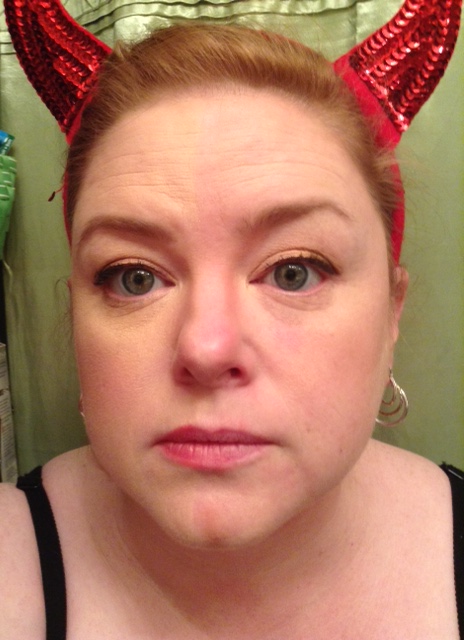
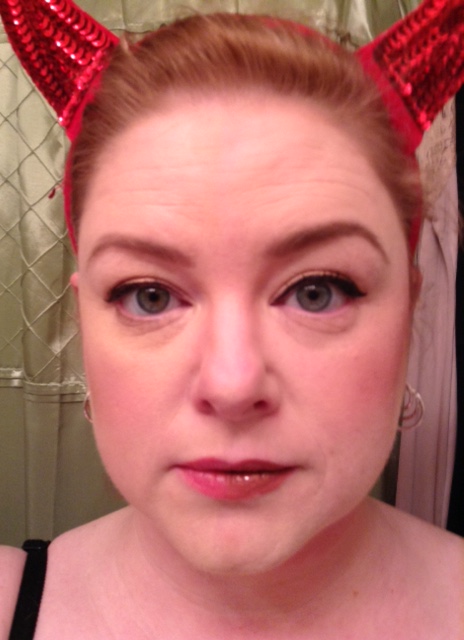
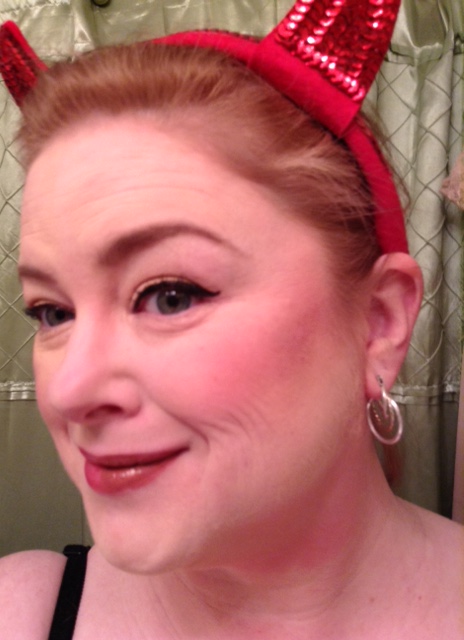
So, I feel like the thicker eyeliner opens the eye more.  I drew a much higher arch onto my brow, which opens up my face more.  I took the eyeliner away from the lower lid, which keeps the cheekbone open, too.

And lest we forget the magic of cosmetics, this is what it looks like with nothing on at all.
And this is all the stuff I used.

That’s that.

I do recommend BLUSHINGTON if you ever need your face done up for a special event.  Everyone I saw walking out looked beautiful and fresh.  There were ladies much older than I being done up for a day of lunching and shopping, and girls who were getting done up for the prom.  I overheard one lady in the lobby saying that people thought she was crazy for driving to Dallas to get her face done, but when she showed them photos of a wedding she’d been in, made up by Blushington artists, they all understood.  Neither hips, nor photos lie.

5 thoughts on “About Face”

  1. holy wow! My “make up” education consisted of my mom teaching me how to apply blush, lipstick and mascara- all in her colors of course. Over the years, I’ve picked up a few tips and tricks from the YouTube but contouring has always intimidated me but intrigued me at the same time. May have to explore this more!!!

Leave a comment